!pip install timm
!pip install fastai 
I’ve just created my first multi-category classifier using Jeremy Howard’s popular fast ai which is an astraction layer library built on top of the most world’s used deep-learning library PyTorch. I’ve documented the process including the issues I faced (i.e. bugs)
I found it more easier to digest and understand this process by splitting the steps into 3 parts:
Part 1: Create Learner (.pkl file)
Part 2: Create Gradio application file (app.py)
Part 3: Host on HuggingFace
Part 1: Create Learner (.pkl file)
1.1 Install and import libraries
from fastai.vision.all import *
import timm
1.2 Download Pets Breed Data
path = untar_data(URLs.PETS)/'images'1.3 Create Data Loader
1.3.1 (A different) Labelling Function
Here a different method to label our data was used:
In ‘noodles vs rice’ model: There were two parent folders separating two categories of data:
get_y=parent_labelIn ‘saving a fast ai’ model: There was a custom labelling function that looked for capital letters for cat breeds
def is_cat(x): return x[0].isupper()In this model, I used Regex to find breed names before the last ’_’ in the file name:
label_func=RegexLabeller(pat=r'^([^/]+)_\d). Seeshow_batch()output to see the file names examples.
Did you notice this is the same dataset as the is_cat model? So changing our label resulted in a different model!
1.3.2 Data Loader Code
pets_dataloaders =  ImageDataLoaders.from_name_func(
    '.',
    get_image_files(path),
    valid_pct=0.2,
    seed=42,
    label_func=RegexLabeller(pat=r'^([^/]+)_\d+'),
    item_tfms=Resize(224))
c:\Users\tonyp\miniconda3\envs\fastai\Lib\site-packages\fastai\torch_core.py:263: UserWarning: 'has_mps' is deprecated, please use 'torch.backends.mps.is_built()'
return getattr(torch, 'has_mps', False)1.4 Batch Examples, Create Learner, Fine-Tune and Export
I grouped these steps as the code are exactly the same in previous posts.
1.4.1 Batch Examples
This function is also a good way to find out what is the file name structure if we were not sure.
pets_dataloaders.show_batch(max_n=8)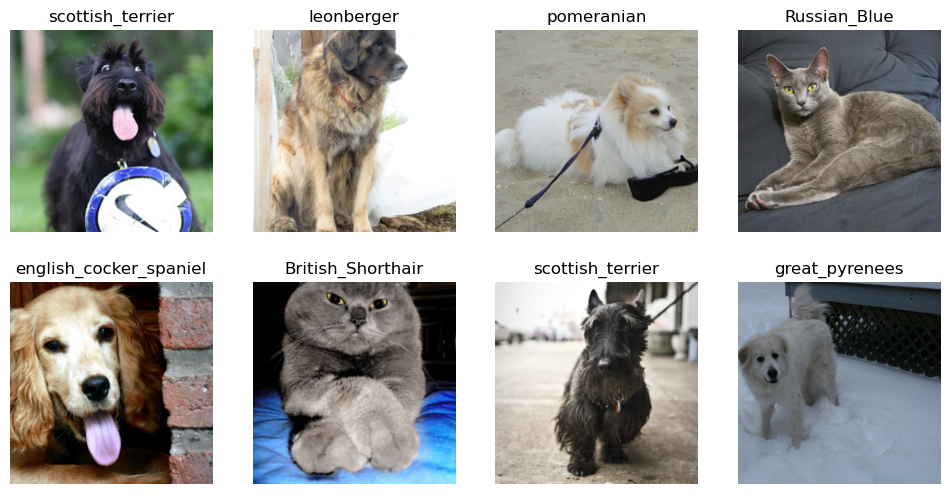
1.4.2 Create Learner
I am still using resnet model architecture for starters for reasons mentioned previously by Jeremy Howard
pets_learner = vision_learner(pets_dataloaders, resnet34, metrics=error_rate)1.4.3 Fine-Tune
pets_learner.fine_tune(3) 1.4.4 Export
pets_learner.export('pets_learner.pkl')To be Continued…
Part 1: Create Learner (.pkl file)
Part 2: Create Gradio application file (app.py)
Part 3: Host on HuggingFace