chosen_pretrained_model = "microsoft/deberta-v3-small"

from transformers import AutoModelForSequenceClassification,AutoTokenizer
debv3_tokenizer = AutoTokenizer.from_pretrained(chosen_pretrained_model)
1. Import a Pretrained Language Model

1.1 Look Inside the Language Model
print(debv3_tokenizer)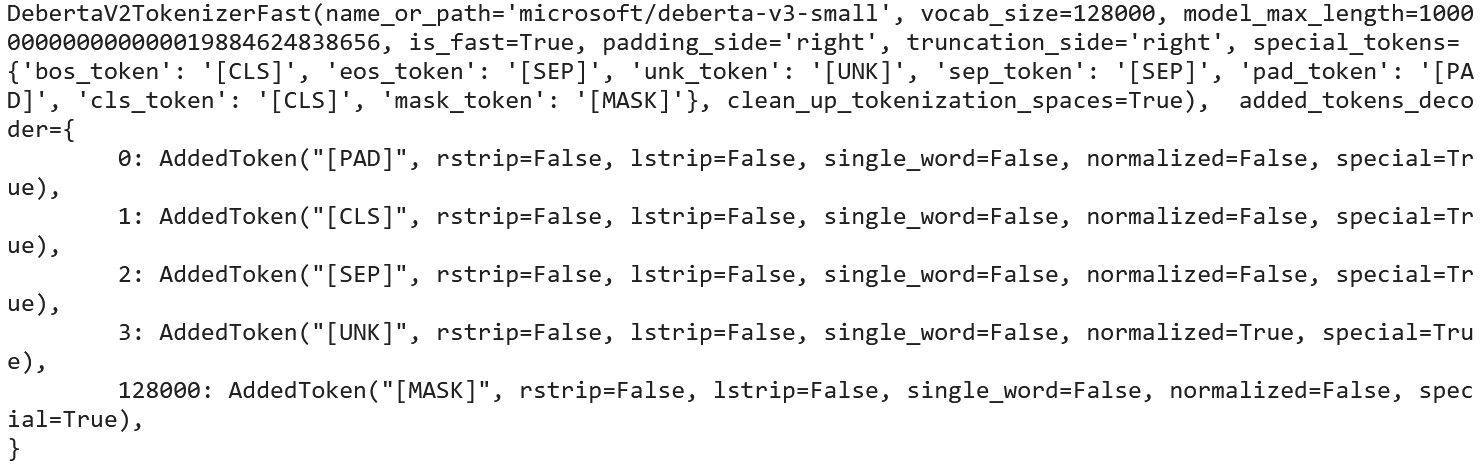
2. Test out Tokenizer
test_string = ("Hey all! What's going on? It's Tony from Sydney!")
debv3_tokenizer.tokenize(test_string)
3. Import Competition Data
To add relevant competition data to your kaggle “Input” folder.
This “Input” folder is persistent when you submit to the competition. All other folders created during prior to submitting are disregarded.
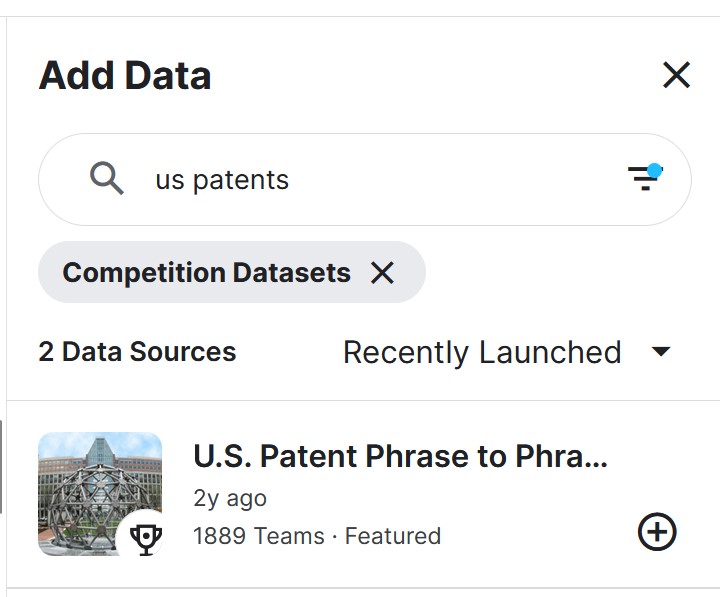
3.1 Via GUI:
- On Kaggle, Go to [Add Data]
- Filter for “Competition Datasets”
- Search “US Patents”
- Click [Add Competition]
3.2 Via Programatically:
Note: You’ll need your own GPU’s, I don’t so the rest of the notebook is ran on the Kaggle website 1. Have kaggle login + keys ready locally, explained in this post 2. Run code to download data locally.
from pathlib import Path
path = Path('us-patent-phrase-to-phrase-matching')
if not path.exists():
import zipfile,kaggle
kaggle.api.competition_download_cli(str(path))
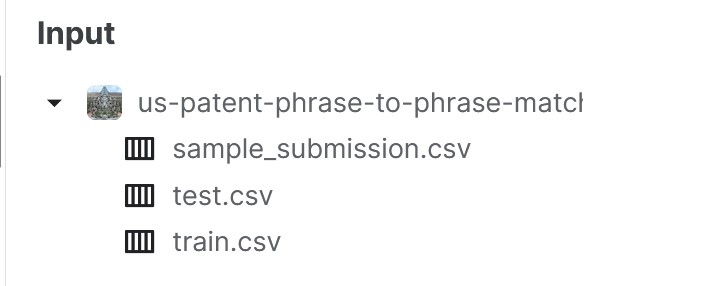
zipfile.ZipFile(f'{path}.zip').extractall(path)3.3 Look Inside the Competition Data
path = Path('/kaggle/input/us-patent-phrase-to-phrase-matching') # Using GUI places comp-data into 'kaggle/input' folder
import pandas as pd
df = pd.read_csv(path/'train.csv')
df.describe(include='object')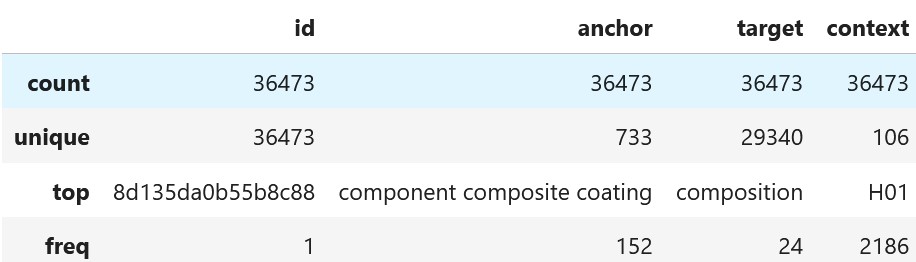
4. Data Preparation
4.1 Create Input Column
Create a contentated column of imporatant columns context, target and anchor.
df['input'] = 'TEXT1: ' + df.context + '; TEXT2: ' + df.target + '; ANC1: ' + df.anchor
df['input']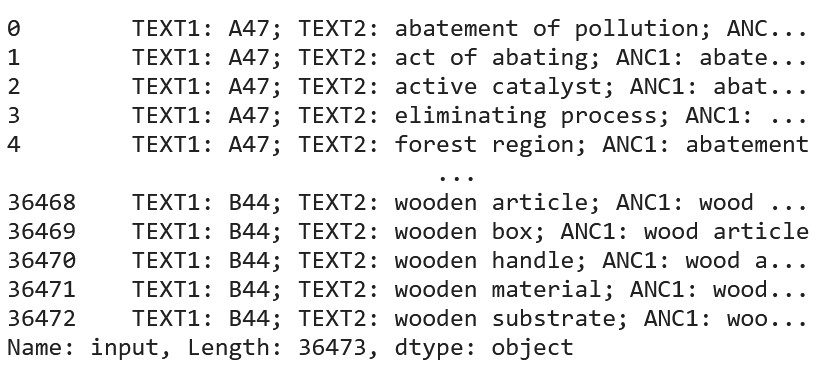
4.2 Convert Pandas Dataframe to HuggingFace Dataset
from datasets import Dataset,DatasetDict
hf_datasets = Dataset.from_pandas(df)
hf_datasets.keys
4.3 Tokenize our HuggingFace Dataset
Using the tokenizer, we can apply pre-trained model to our new concatenated column.
A hugging face dataset is in the form of a dictionary so we can index to get a column with dict['column']
We can apply the tokenization with batching, resulting in an additional few columns input_ids, token_type_ids, attention_marks, which only took 2 seconds!
def tok_func(x): return debv3_tokenizer(x["input"])
tok_ds = hf_datasets.map(tok_func, batched=True)
tok_ds
4.4 Rename the Columns as to what HF expects
tok_ds = tok_ds.rename_columns({'score':'labels'})4.5 Training and Validation Sets
Split the above tokenized hugging face datasets into validation and training sets, into DatasetDicts.
Note: The validation set here is called test and not validate
tok_ds_dicts = tok_ds.train_test_split(0.25, seed=42)
tok_ds_dicts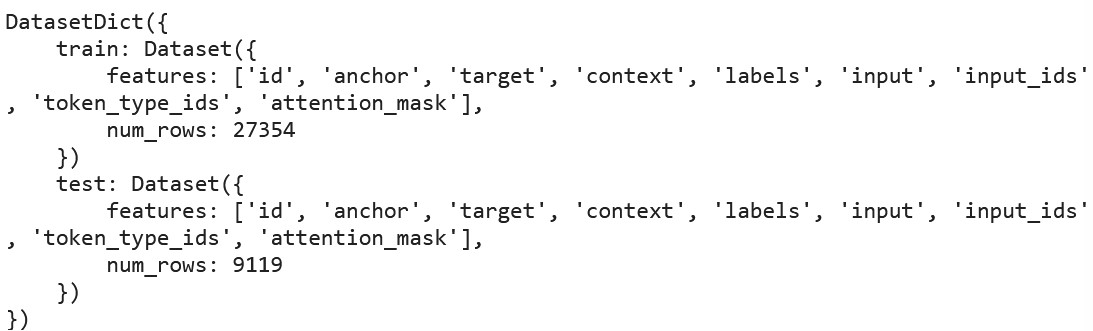
5. Data Modelling
5.1 Import libraries and set parameters
Import modules: - TrainingArgument: to take in all the hyperparameters - Trainer class: combines the TrainingArguments and Pre-trained model Set the main hyper-parameters: - Batch Sizes: to fit on the GPU, - Number of Epochs: for each ‘experiment’ and the - Learning Rate, so it doesnt fail.
[“Future Iteration”]: More descriptions on these and other parameters in future posts.
from transformers import TrainingArguments,Trainer
bs = 128
epochs = 4
lr = 8e-5
5.2 Setup Training Arguments
args = TrainingArguments('outputs', learning_rate=lr, warmup_ratio=0.1, lr_scheduler_type='cosine', fp16=True,
    evaluation_strategy="epoch", per_device_train_batch_size=bs, per_device_eval_batch_size=bs*2,
    num_train_epochs=epochs, weight_decay=0.01, report_to='none')
5.3 Create Model
model = AutoModelForSequenceClassification.from_pretrained(chosen_pretrained_model,
                                                           num_labels=1,
                                                           ignore_mismatched_sizes=True)
5.4 Create Metrics Functions
The Pearson coefficient using numpy.
import numpy as np
def corr(x,y): return np.corrcoef(x,y)[0][1]
def corr_d(eval_pred): return {'pearson': corr(*eval_pred)}
5.5 Create Trainer
trainer = Trainer(model,
                  args,
                  train_dataset=tok_ds_dicts['train'],
                  eval_dataset=tok_ds_dicts['test'],
                  tokenizer=debv3_tokenizer,
                  compute_metrics=corr_d)
5.6 Do the Training
trainer.train()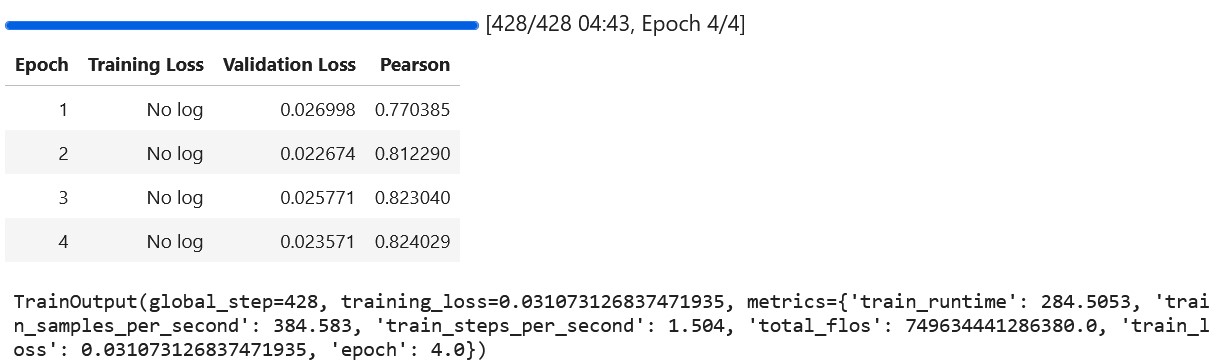
6. Predictions
Now that we have a Trainer (same as Learner in FastAI), we could use it on a an unseen set of data such as a Test Set and make predictions.
6.1 Import Test Dataset
eval_df = pd.read_csv(path/'test.csv')
eval_df['input'] = 'TEXT1: ' + eval_df.context + '; TEXT2: ' + eval_df.target + '; ANC1: ' + eval_df.anchor
eval_ds = Dataset.from_pandas(eval_df).map(tok_func, batched=True)
6.2 Make Predictions
Predictions are going beyond 0 and 1
preds = trainer.predict(eval_ds).predictions.astype(float)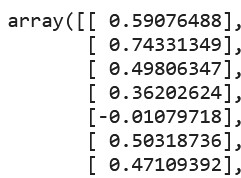
6.3 Clip Predictions
Predictions are going beyond 0 and 1
preds = np.clip(preds, 0, 1)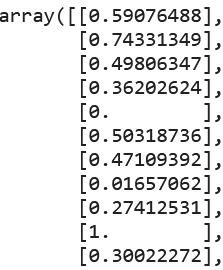
7. Submission
import datasets

submission = datasets.Dataset.from_dict({
    'id': eval_ds['id'],
    'score': preds
})

submission.to_csv('submission.csv', index=False)
8. Part 2
Actually the submissiong won’t work because it is a Notebook competition is the Internet is Turned Off.
What needs to be done is convert this version to one that works without installing anything from the internet.
That would be in Part 2.